

How to upload files to AWS S3 using Django Rest Framework
File upload and download are some most performed actions on the web. With the rise of cloud-based solutions, companies are moving from on-premises.

"Hello Sky Daddy, it's me again with new uploads."
~ Laptop and the high-flying Lady
File upload and download are some of the most performed actions on the web. With the rise of cloud-based solutions, companies are moving from on-premises solution to cloud storage. One of the reasons is its cheaper cost and convenience.
This article demonstrates how to upload user-generated files to Amazon S3 using the Django Rest Framework.
Prerequisites
- Comfortable working with Django and Django Rest Framework.
What is AWS S3?
AWS S3 is an acronym for Amazon Web Services Simple Storage Service (AWS S3). It is a cloud-based service by Amazon for object storage.
Object storage is a type of storage where items are processed as a data object. Contrary to the traditional method of storing files in the file system hierarchy.
In the traditional file system, the basic unit of storage is a "file". In AWS S3, the basic unit of storage is called a "bucket".
The AWS console and available SDKs from AWS are used to access buckets. These SDKs come in supported popular languages such as Python and PHP.
There are several advantages of using AWS S3. These includes:
Scalability
High performance
Audit capability
Security
Cost-effective
About 99.999% availability (uptime)
AWS S3 can be used as a backup and disaster recovery tool as well as in data analytics.
In this guide, we will upload user-generated files using the Django Rest Framework.
Building A simple Django Rest API Application
We are going to create a new Django project named Dropboxer. Dropboxer is a simple file storage application. We can find the complete source code for this project in this repository.
Execute the commands below to set up the project.
pip install django djangorestframework
pip install boto3
django-admin startproject dropboxer
cd dropboxer
python manage.py startapp uploader
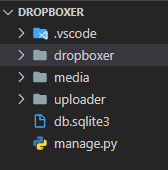
The folder structure looks like the structure below:
- dropboxer
- uploader
- manage.py
Add the new app to INSTALLED_APPS in settings.py:
…
# Application definition
INSTALLED_APPS = [
    'django.contrib.admin',
    'django.contrib.auth',
    'django.contrib.contenttypes',
    'django.contrib.sessions',
    'django.contrib.messages',
    'django.contrib.staticfiles',
# 3rd party apps
    'rest_framework',
    # local apps
    'uploader',  # new
]
…
# Static files (CSS, JavaScript, Images)
# https://docs.djangoproject.com/en/2.2/howto/static-files/
STATIC_URL = '/static/'
STATIC_ROOT = os.path.join(BASE_DIR, 'static')
MEDIA_URL = '/media/'
MEDIA_ROOT = os.path.join(BASE_DIR, 'media')
Add the code snippet below to urls.py file in the dropboxer project directory.
from django.conf import settings  # new
from django.conf.urls.static import static  # new
from django.contrib import admin
from django.urls import path
urlpatterns = [
    path('admin/', admin.site.urls),
]
if settings.DEBUG:
    urlpatterns += static(settings.MEDIA_URL, document_root=settings.MEDIA_ROOT)
    urlpatterns += static(settings.STATIC_URL, document_root=settings.STATIC_ROOT)
Create serializers.py and urls.py files in the uploader app.
In models.py file, we create a simple model that represents a single file.
from django.db import models

class DropBox(models.Model):
    title = models.CharField(max_length=30)
    document = models.FileField(max_length=30)
    created_at = models.DateTimeField(auto_now_add=True)
    updated_at = models.DateTimeField(auto_now=True)

    class Meta:
        verbose_name_plural = 'Drop Boxes'
Add the code snippet below in serializers.py file:
from rest_framework import serializers
from .models import DropBox
class DropBoxSerializer(serializers.ModelSerializer):

    class Meta:
        model = DropBox
        fields = '__all__'
In uploader/views.py:
from rest_framework import viewsets, parsers
from .models import DropBox
from .serializers import DropBoxSerializer
class DropBoxViewset(viewsets.ModelViewSet):

    queryset = DropBox.objects.all()
    serializer_class = DropBoxSerializer
    parser_classes = [parsers.MultiPartParser, parsers.FormParser]
    http_method_names = ['get', 'post', 'patch', 'delete']
In uploader/urls.py:
from rest_framework.routers import SimpleRouter
from .views import DropBoxViewset
router = SimpleRouter()
router.register('accounts', DropBoxViewset)
urlpatterns = router.urls
In uploader/admin:
from django.contrib import admin
from .models import DropBox
admin.site.register(DropBox)
In dropboxer/urls.py:
...
from django.urls import path, include  # new
urlpatterns = [
    path('admin/', admin.site.urls),
    path('api/', include('rest_framework.urls')),  # new
    path('', include('uploader.urls')),  # new
]
To create a table in the database from the model that we created above, execute the command below.
python manage.py makemigrations
python manage.py migrate
Start the development server by executing the command below:
python manage.py runserver
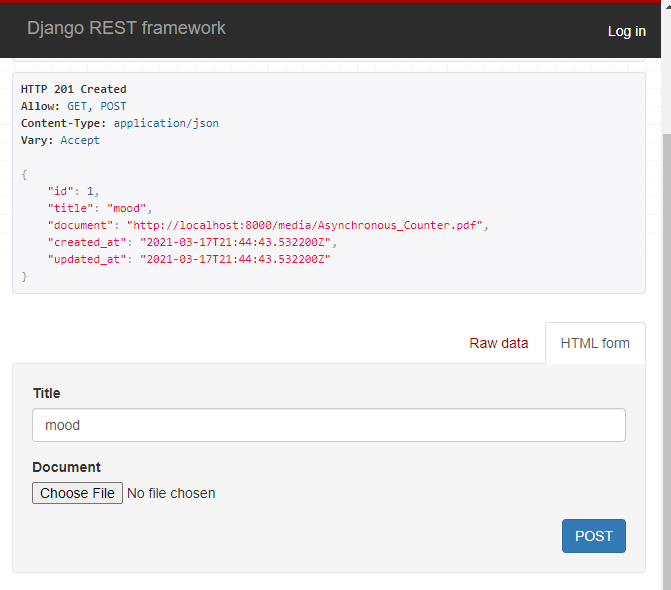
On the browser navigate to accounts. We find the sample file uploaded in the media folder. This sample file was created when we uploaded it via the API on the browser as shown below:
Integrating AWS S3 into the Django API application
We have a working application API endpoint. You need an AWS account to enable the integration of AWS S3 into your Django application. Sign up if you do not already have an account, sign in if you have an existing AWS account.
Search for S3:

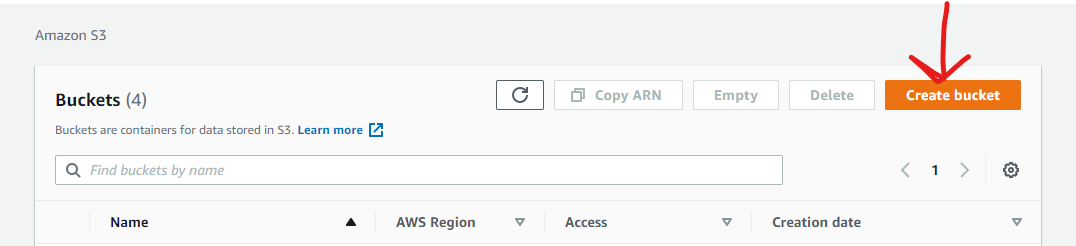
Click on “create bucket” button:
Provide a unique name for your S3 bucket that is globally identified:
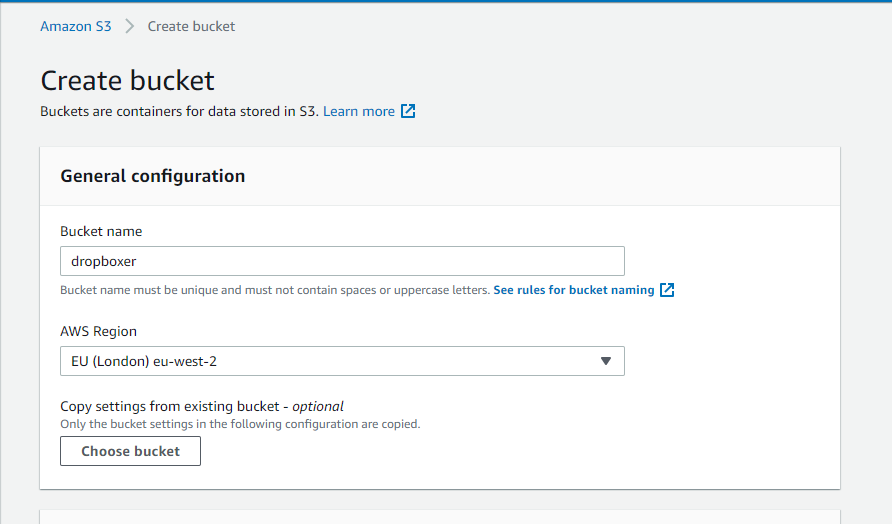
Naming an AWS S3 bucket may take some trial and error before a name that does not already exist is discovered.
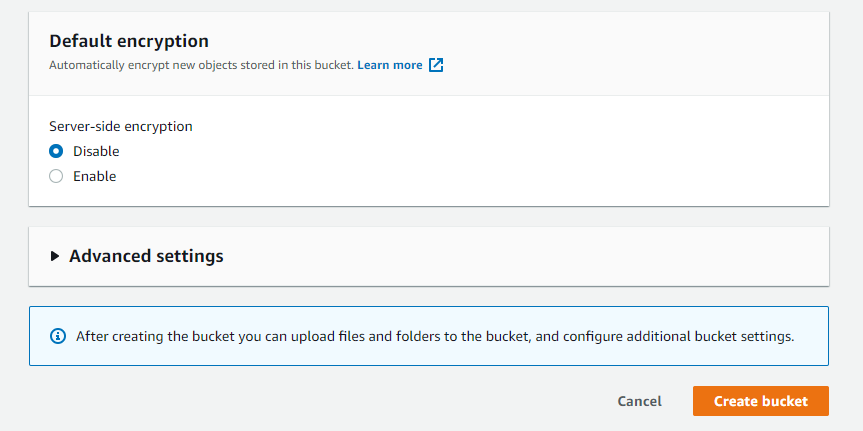
Keep default option, click create bucket:
You will be redirected to the AWS S3 console which now shows the newly created bucket:
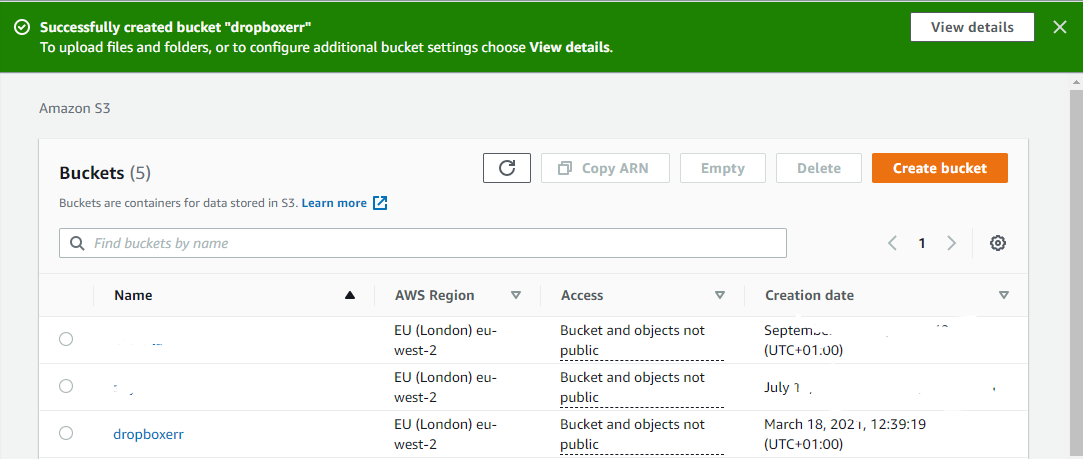
We have successfully created an AWS S3 bucket. Recall during bucket creation, public access to the S3 bucket was blocked.
To access the created bucket from our application, we will need to gain access using AWS IAM. AWS IAM is an acronym for Identity and Access Management. It is used to provide access to rights and privileges on AWS resources. Currently, we can only access the S3 bucket through the console.
AWS allows access to its resources such as AWS S3 through User and Roles. You can read more about how AWS does this here
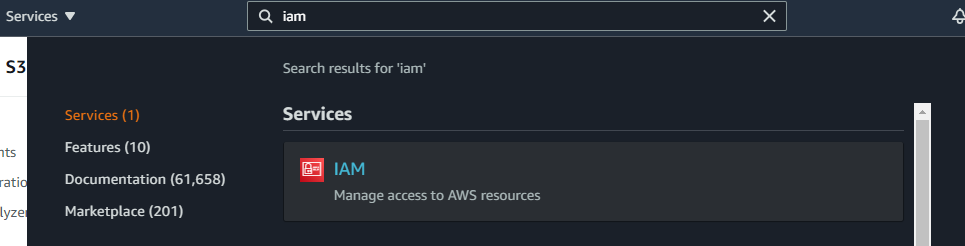
Search for IAM using AWS search bar:
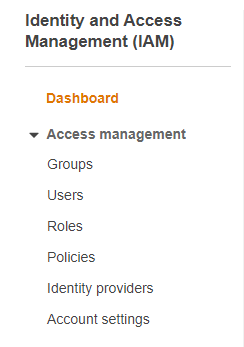
Click User on the IAM side menu:
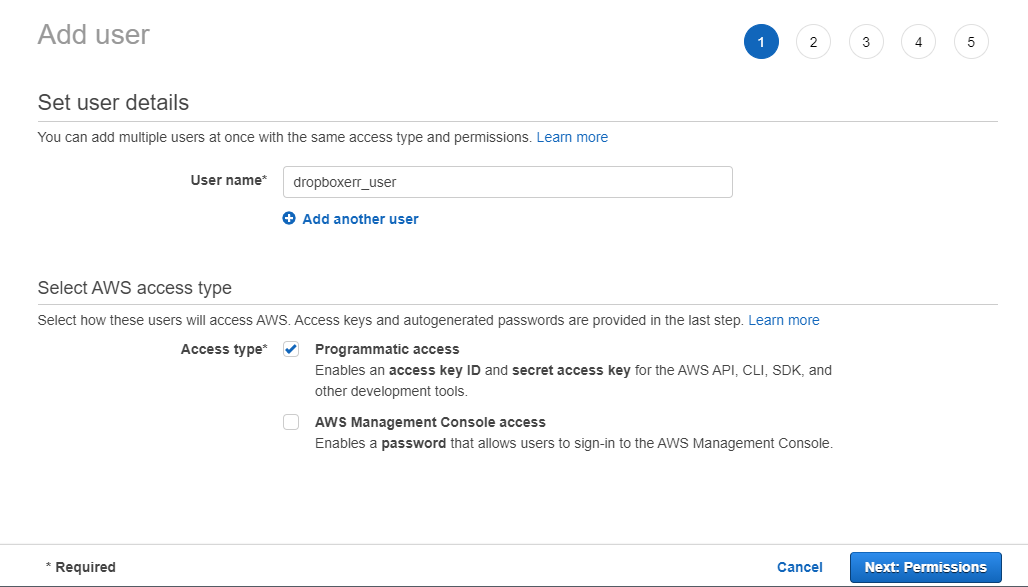
Click Add user on the IAM User dashboard:

Provide a user name and check the programmatic access box:
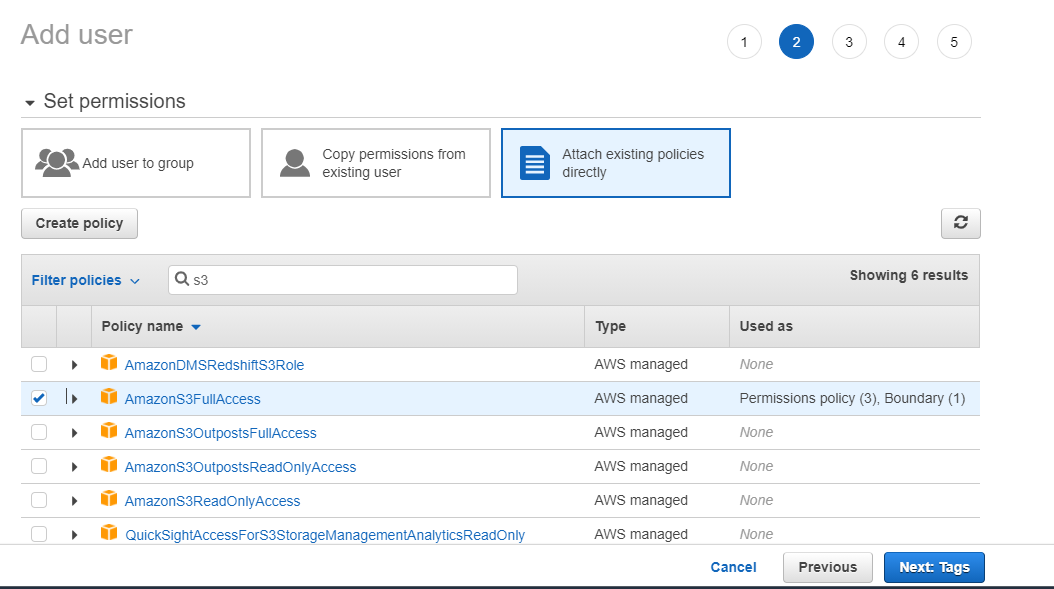
In Set Permissions, choose "Attach existing policies directly" and check AWSS3FullAcess box:
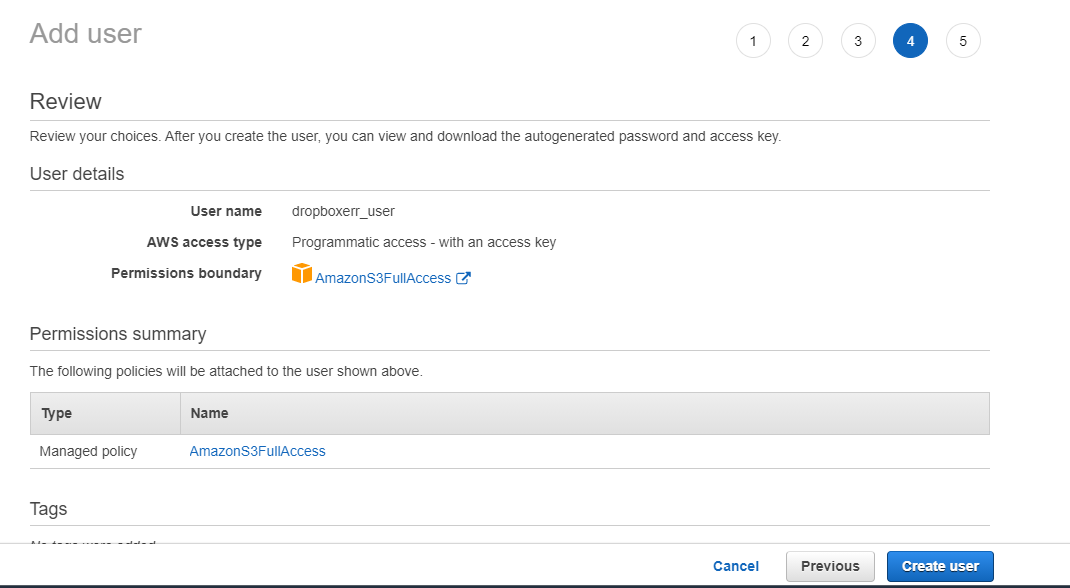
Click through and review your choice before creating the user:
On successful creation, it generated an AWS Access and Secret key:
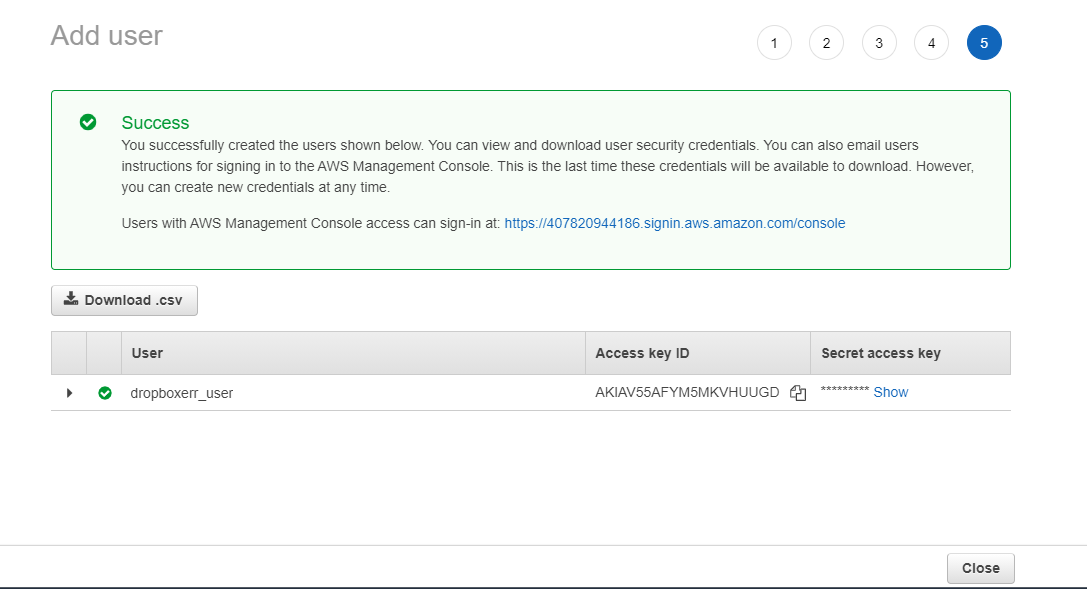
Store AWS Secret Key before finishing because the Secret Key won’t be shown again.
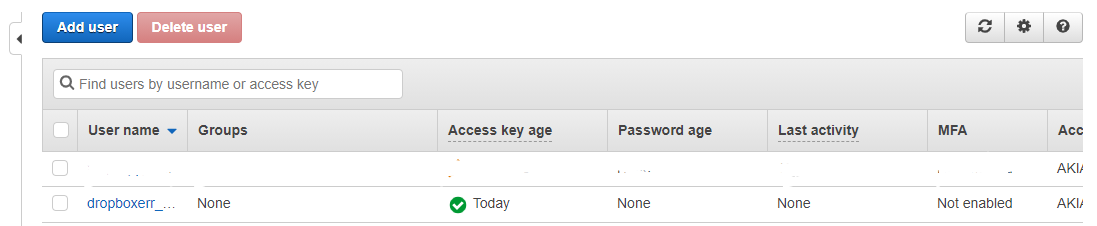
Once done, we can view the newly created AWS user on the IAM User dashboard:
In this article, we will use Django-storages to connect to the AWS S3 bucket. Django-storages is a collection of custom storage backends for Django framework.
We will use the AWS S3 integration from the collection in Django-storages package.
Install django-storages into the Django application via pip:
pip install django-storages
In settings.py add the code snippet below:
...
AWS_ACCESS_KEY_ID = <YOUR AWS ACCESS KEY>
AWS_SECRET_ACCESS_KEY = <YOUR AWS SECRET KEY>
AWS_STORAGE_BUCKET_NAME = <YOUR AWS S3 BUCKET NAME>
AWS_S3_SIGNATURE_VERSION = 's3v4'
AWS_S3_REGION_NAME = <YOUR AWS S3 BUCKET LOCATION>
AWS_S3_FILE_OVERWRITE = False
AWS_DEFAULT_ACL = None
AWS_S3_VERIFY = True
DEFAULT_FILE_STORAGE = 'storages.backends.s3boto3.S3Boto3Storage'
AWS_ACCESS_KEY_ID: is the key identifier of the IAM User. It starts with "AK**"
AWS_SECRET_ACCESS_KEY: is the generated 40 alphanumeric characters.
AWS_S3_REGION_NAME: refers to the AWS Region in the S3 console dashboard. Eg us-east-1, eu-west-2.
AWS_S3_SIGNATURE_VERSION: is the version of the signature used for generating pre-signed URLs. AWS S3 buckets need the signature to grant access.
AWS_S3_FILE_OVERWRITE: when set to True, AWS S3 overwrites a file with the same name and format. If set to False, AWS appends unique strings to the newly uploaded file name. It does not override the existing file.
Restart the development server by executing the command below:
python manage.py runserver
On the browser, navigate to localhost and retry uploading a sample file:

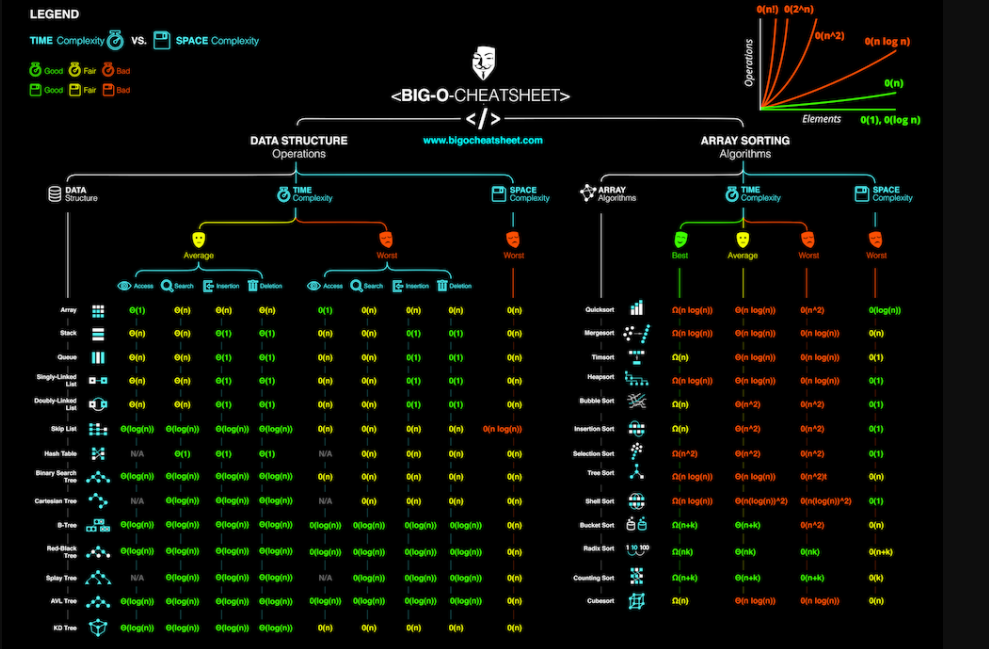
Click the link in the document field. Notice the link now has "s3.amazon**". You will be able to access the file. Here, the uploaded file is titled "Big O Cheatsheet":
Summary
In this article, we created an AWS S3 bucket and assigned IAM User with full access to the AWS S3 bucket. We uploaded files to the AWS S3 bucket using Access Key and AWS Secret Key from our Django Rest API application.
I'll return with some stories from the fitting room. However, I'll have a glass of sherry today. Laptop and this Lady shall bid you farewell.


